How to Clear Brush: Your 7-Step Guide
Tame the wild jungle in your backyard in a few simple steps.

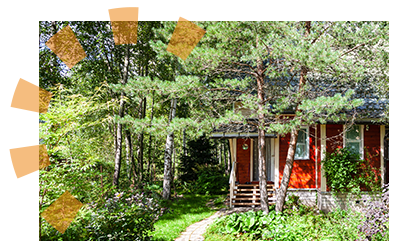
Clear Brush From Your Yard to Recover Space
Most of the time, it’s as simple as trimming the bushes and mowing the lawn. Sometimes, though, things have gotten a bit more out of hand and you’re left deciding how to clear your overgrown land. This step-by-step guide will give you the information you need to know for clearing brush from your backyard, from the best hand tools and brush clearing power tools to an alternative method that will help you double-up on your tasks.
Brush Removal FAQs
Do I Need a Permit?
In some areas a permit may be required for you to work on clearing brush in your yard. It could be needed for any number of reasons, from needing a dumpster on the street for cleanup to removing a tree, so check with your local zoning and planning department to be sure.
Pro-Tip: The typical cost of a permit is $50-$200.
How Much Does it Cost to Clear Brush?
The total price to cut down trees, remove shrubs and clear out undergrowth can vary depending on just how much work needs to be done, and the tools required to perform the job. The average cost for most overgrown lots is between $20 - $2,000 per acre. Heavily wooded areas can see costs rise up to $6,000 per acre to cut through trees, stumps and remove root systems.
How Do You Clear Brush so it Doesn't Grow Back?
While it's impossible to keep brush from growing back, you can take a few key steps to ensure that it won't overtake your yard again:
- Ensure you remove the roots when you clear brush.
- Consider using a herbicide to completely kill any overgrowth.
- Add landscape fabric below any mulch.
- Provide continual maintenance to the area.
Learn How to Clear Your Overgrown Land
Step 1: Check Out Your Land
You wouldn’t build a home without blueprints and a game plan, and clearing brush from your yard should be no different.
While you don’t need a map of your backyard, you do need to walk through and determine the best way to clear the brush and undergrowth. Mark any trees you want removed and note areas that appear particularly thick in overgrowth. It’s also a good idea to note any spots of your yard that might be hard to work on such as swampy or rocky terrain or overgrowth intertwined with a fence.
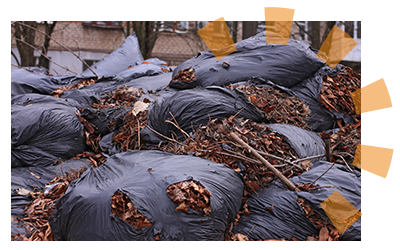
Step 2: Plan for Brush Disposal
Depending on the scope of your project, your weekly trash collection might not be able to handle the yard debris. Or, you might not want to wait to clear the brush until it coincides with your area’s next brush collection day.
Consider some alternate strategies such as composting or a yard waste dumpster rental. From dirt and limbs to shrubs and brush, a dumpster rental is an easy way to get rid of your overgrown yard on your schedule.
Pro Tip
Not sure if a dumpster is right for you? Check out our yard waste disposal guide to see all your options and why a dumpster might be best.
Step 3: Gather Your Tools
Whether you plan on clearing brush by hand or using power tools, using the right equipment will make the job easier. Keep in mind that even if you have a preference on tool types, sometimes its more efficient to mix and match.
Best Tools for Clearing Brush
Power and Hand Tools | Materials |
|---|---|
Chainsaw | Eye protection |
Stump grinder | Gloves |
String trimmer/Weed wacker | Long-sleeved shirt |
Ax | Thick pants |
Shovel | Helmet |
Bow saw | Heavy-duty trash bags |
Tree pruner | Spare dirt or topsoil |
Scythe/Machete | |
Rake |
Safety Tip
If you aren’t comfortable or trained to use these tools, please consider hiring a service instead to avoid injury to yourself or your property.
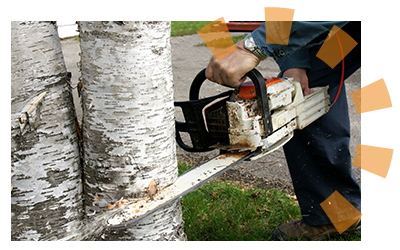
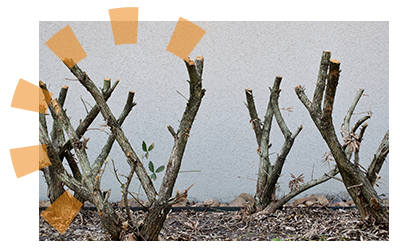
Step 4: Cut Down the Trees
In the prep section, you marked the trees you wanted to cut down. Here’s the last chance for you to change your mind, as tree removal is the first thing that needs to get done.
Removing small trees is simple enough to do by yourself. However, medium and larger sized trees can be dangerous to take out without proper equipment. For larger trees, consult a professional tree remover first.
How to Cut Down a Small Tree
- Mark the trunk around a foot above the ground.
- Cut at a 45-degree angle using either an ax or chainsaw until you’re about a third of the way through the trunk. Make sure you’re cutting into the side that you would like the tree to fall toward.
- Cut a 45-degree wedge on the other side of the tree, slightly higher than your cut on the opposite side. This cut should go about halfway through the trunk.
- Push the tree from the side where you made your second cut. If the tree does not fall, use your bow saw to continue your cut until the tree begins to fall.
- Repeat steps 1-4 as needed for the trees you want to remove.
Whether you’re using a dumpster or relying on curbside collection, be sure to check with your company before tossing trees. In some areas, there are restrictions on the length and circumference of tree limbs and stumps.
How to Remove a Stump
With the trees cut down, you need to remove the stump to completely clear your land of brush. There are plenty of ways to go about it, but it all depends on the size and quantity. Here are a couple of ways to get rid them:
- Use your shovel to dig them out. This works best with smaller stumps that have a shallow root system. Expose the roots by digging, then use an ax or pruning shears to cut the stump loose. Next, pull the stump out of the ground.
- Use a stump grinder to discard the stumps. This works well for small stumps with a stubborn root system as well as medium to large stumps with shallow roots. Grinders can often be rented from home improvement stores at a per hour rate.
Whether you use a shovel or a stump grinder, be sure to fill in the hole with dirt or topsoil so that you have a flat surface.

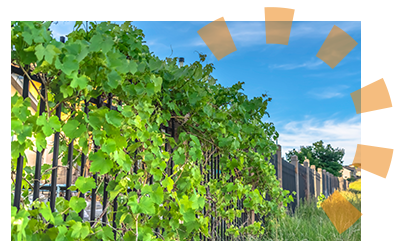
Step 5: Remove Shrubs
With the trees cut down, the next move is to get rid of any mid-to-large sized shrubs. Depending on the size, some may be able to be removed by hand, while others will require a shovel in order to dig out the roots. It may be helpful to prune back some of the smaller branches or sections of a shrub in order to make digging it out a bit easier.
How to Get Rid of Shrubbery
- Remove shrubs by simply pulling them out or trimming them with a tree pruner.
- Use a shovel to get the stump and roots out.
Safety Tip
If you haven’t been wearing pants and long sleeves yet, be sure to put them on at this point. They will help protect your skin from plants such as poison ivy and poison oak that might be hidden.
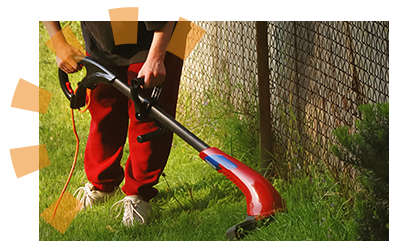
Step 6: Clear Out the Undergrowth
Once larger items are cleared, it’s time to get into the thick of things. Tall grass, weeds, small shrubbery and vines are still in the way, so it’s time to bust out your weed trimmer, scythe, machete and tree pruner and get to work.
How to Remove Vines and Weedy Brush
- Cut thicker vines and brambles with a tree pruner and toss them to the side.
- Pull any larger weeds out at the root.
Trim the Remainder
The last part is simple. Cut the remaining vegetation using your string trimmer or scythe. You want to cut as close to the ground as you can. If the overgrowth is particularly high, cut it down about halfway on a first pass and then trim it to the ground on a second pass.
If the brush you need to trim is particularly thin, you can use a lawnmower to take care of this step. However, you may need to clean out the deck of your mower more often.
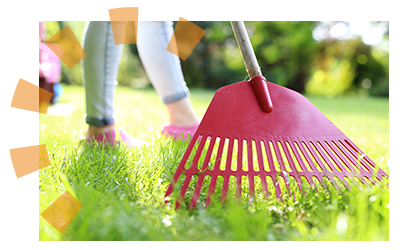
Step 7: Cleanup Time
You’re almost there! It’s time to grab your rake and finish clearing the brush.
There’s really no right or wrong way to rake up the trimmed brush. Just remember that the brush will need to be disposed of, so make sure you create piles with your disposal method in mind — whether that be a compost pile, your weekly trash collection or a yard waste dumpster.
A Backyard Full of Possibilities Awaits
The final step is up to you. Perhaps it’s time for some hardscaping? Or maybe there is another DIY project you have in mind to make your backyard an outdoor oasis? You have a blank canvas with a world of possibilities.
What Do You Think?
How much brush do you have to remove? We're listening. Head over to Twitter or Facebook,
and use #dumpstersblog to join the conversation.
Next Up


